The procedure · twelve steps · driver-side
Change a Tire.
Life SimPractice the 12-step tire-change procedure as a game. Learn mode walks you through it with full feedback. Speedrun mode times you with progressively fewer hints — your fastest perfect run at each tier is your best.
Set it up
Pick your round.
Mode
Learn is untimed with full per-step feedback. Nothing recorded. Speedrun times you; only perfect runs count; one wrong tap invalidates.
Interaction (Learn mode)
Build — tap steps in order from a shuffled pool. Spot — find the mistake in a corrupted procedure. Mix — alternates.
Hint tier (Speedrun)
Each tier records its own best time. Hard is only playable if you've memorized the procedure — the chips are blank numbered placeholders.
Tap the 12 steps in the correct order.
The steps — tap one to place it next
Your order
Find the mistake. Either two steps are swapped (tap the two chips below to claim a swap) or one step is missing entirely (pick it from the palette).
The procedure at a glance.
Appendix A · six rules
§A.1 · Procedure
01
The 12 steps in order
Park flat, brake on, chocks behind opposite wheels. Loosen lugs before jacking. Lift on the frame jack point, fully unscrew the lugs, slide the flat under the car as a safety net. Mount the spare, hand-tighten in a star, lower the car, full torque in a star. Stow the tools. Drive to a shop.
§A.2 · Loosen first
02
Crack the lugs before jacking
A tire on the ground can't spin — friction holds it while you break the nuts free. A raised wheel will just rotate when you push, and you won't get the leverage. Always break loose before the wheel leaves the ground.
§A.3 · Chocks
03
Wheel chocks behind the opposite wheels
The parking brake holds one axle (rear in most cars). The other axle is free to roll. Chocks block the free axle so jacking and removing a wheel doesn't roll the car off the jack. The flat surface helps but doesn't replace chocks.
§A.4 · Tire under
04
Slide the flat under as a fail-safe
If the jack tips or fails, the car drops onto the flat tire instead of onto the ground or onto you. Five seconds of effort buys you a guaranteed gap. Standard procedure on every shop floor.
§A.5 · Star pattern
05
Tighten across, not around
Going lug-to-adjacent-lug pinches the wheel onto the hub on one side first, leaving the other side gapped. Going across (skipping one lug each turn) seats the wheel evenly. The pattern makes a five-pointed star on a 5-lug wheel.
§A.6 · Re-torque
06
Re-check after 50 miles
Freshly-mounted wheels settle as the tire beds against the hub — clamping force can drop 10-20%. Drive 50 miles, pull over, and snug each lug down in the star pattern. Skipping this is how loose lug nuts happen on changed tires.
Changing a tire.
Appendix B · the deep diveEleven questions on the order, the safety rules, and the bits driver's-ed classes tend to skip. The first card has the full 12-step procedure with photos; everything after is a "why" you can read in any order.
§B.1 · Procedure
01
The 12 steps in detail (with photos)
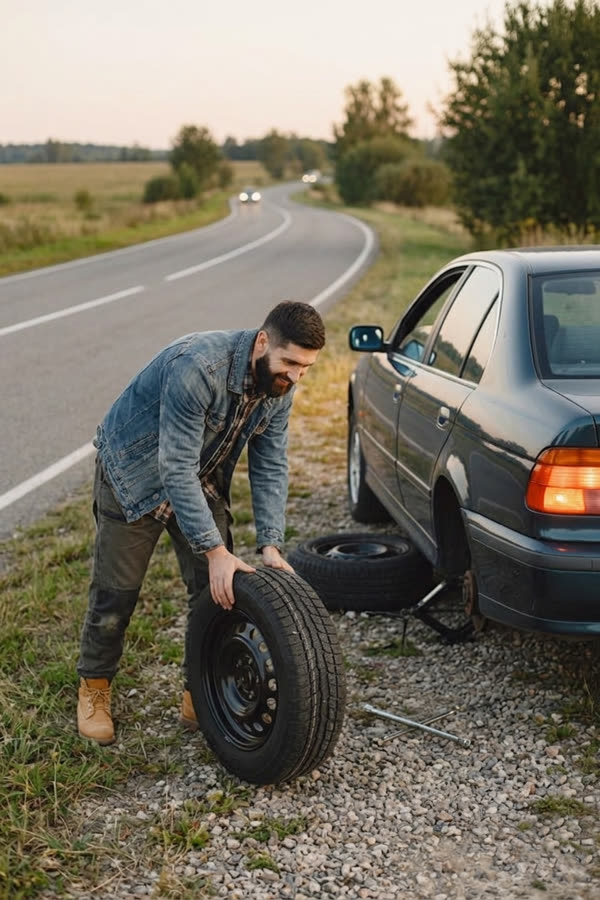
First rule: if you're on a highway shoulder with fast traffic, or on a blind curve, or anywhere unsafe — call roadside assistance instead. The best tire change is one a professional with flares and a truck does for you. When you do change it yourself, first time takes 15 to 30 minutes; with practice, closer to 10.

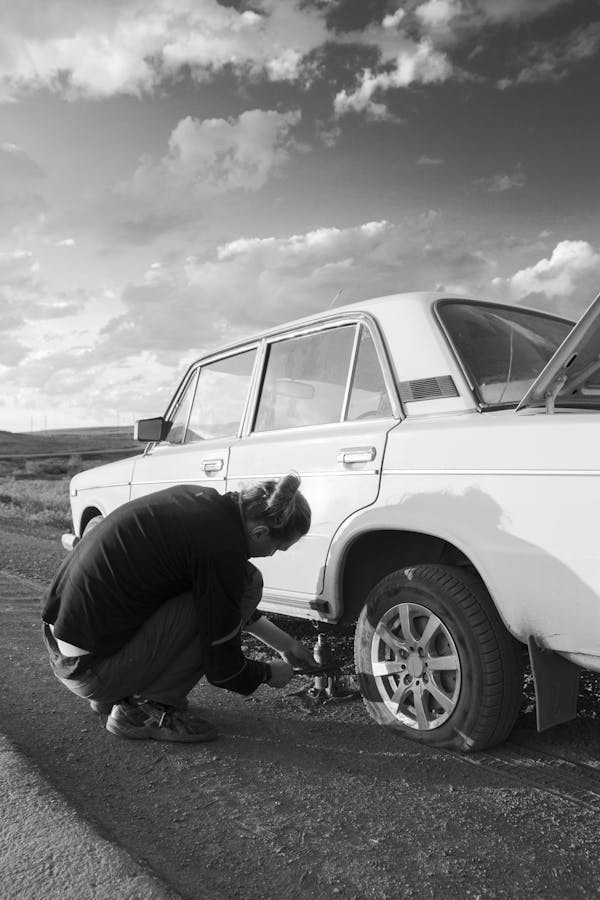
Park on flat ground, engage the parking brake. Flat ground keeps the jack steady. The parking brake stops the car from rolling while you work.

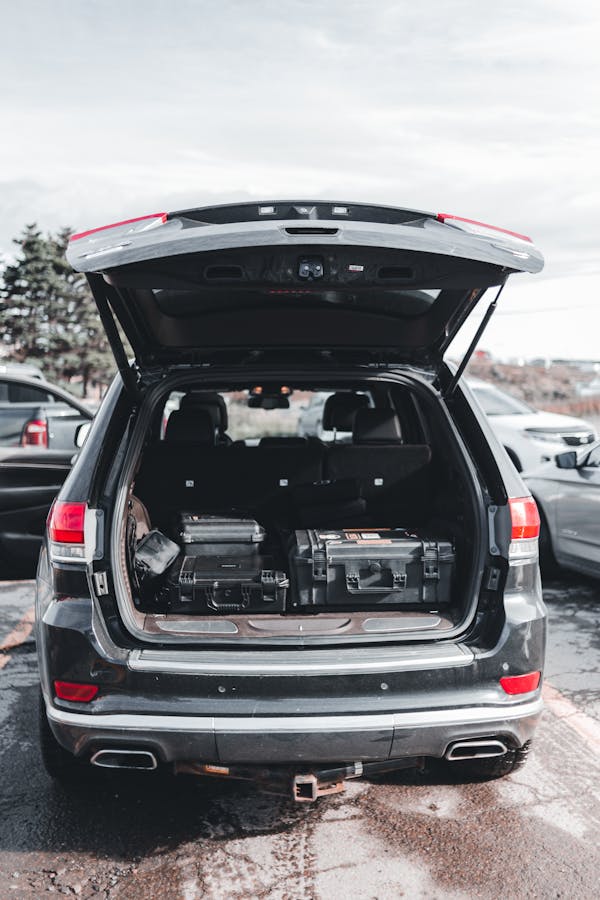
Get the spare tire, jack, and tools from the trunk. Check you have all three before you start — if any are missing, stop and figure that out first.
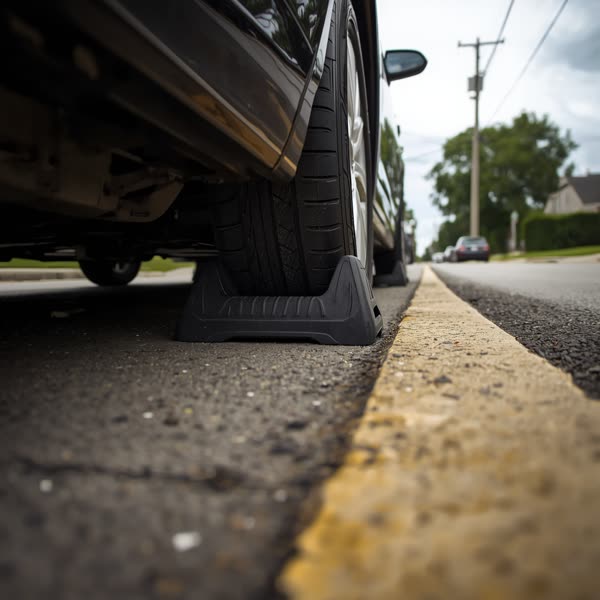
Place wheel chocks behind the opposite wheels. Chocks are wedges that block a wheel from rolling. The parking brake only holds one axle; chocks hold the other so nothing moves.

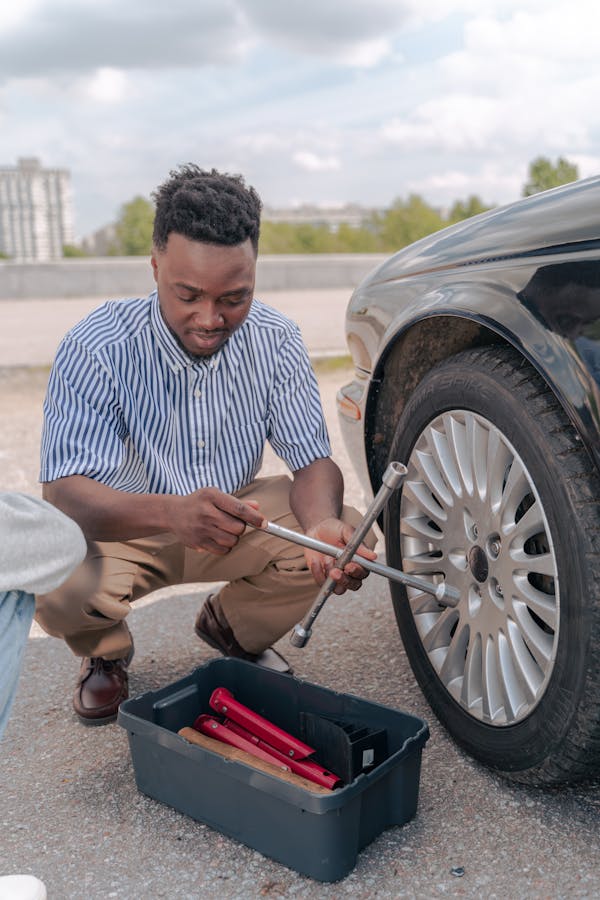
Remove the hubcap and loosen the lug nuts a half-turn. Loosen them before you jack up the car. A tire on the ground can't spin; a raised one will, and you won't be able to break the nuts free.
Position the jack under the frame and raise the car slowly. The jack point is a reinforced spot on the frame — your owner's manual shows exactly where. Go slowly: if the car shifts or anything feels unsafe, lower it and reposition.
Fully unscrew the lug nuts. Take them all the way off. Put them somewhere you won't lose them — the upturned hubcap works as a tray.
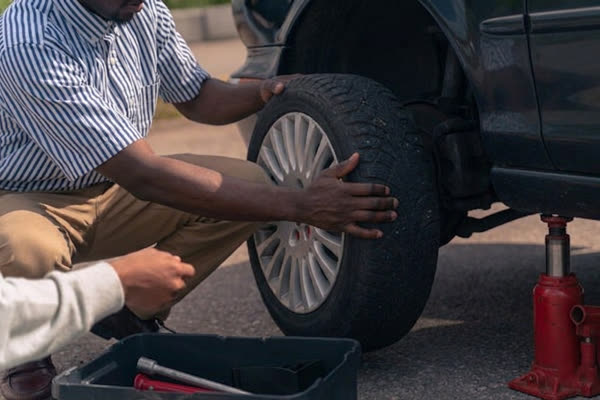
Pull the flat tire straight off. If it's stuck from rust, tap it loose with a rubber mallet. Do not kick it hard — the car is balancing on a jack, and a strong kick can knock the car off the jack onto you.

Slide the flat tire under the car as a safety net. If the jack fails, the car drops onto the flat tire instead of onto the ground or onto you. Costs nothing, takes five seconds.
Lift the spare onto the wheel studs. Studs are the metal posts sticking out of the hub — line them up with the holes in the spare. Spare tires are heavier than they look; lift with your legs, not your back.

Hand-tighten the lug nuts in a star pattern. A star pattern means tightening lugs that are across from each other, not next to each other — each turn skips across the wheel. The numbers in the diagram (1, 2, 3, 4, 5) show the order. Hand-tight only for now; full torque comes later.

Lower the car, then fully torque the lug nuts in the same star pattern. Once the tire touches the ground, the wheel can't spin — that's when you torque. Use the same order from step 10.
Pull the flat out from under the car. Put the flat, jack, and tools back in the trunk. Don't drive off with anything still on the ground.
Then: drive straight to a tire shop and get a proper replacement tire. The spare (or donut) is for getting you off the road, not for everyday driving.
§B.2 · Order
02
Why the order matters
Each step creates the conditions that let the next one happen. Loosening the lug nuts works because the tire is gripping the ground — once the wheel is suspended in the air, it spins when you turn the wrench, and you can't break the lugs free. Hand-tightening in the star pattern happens while the car is up because that's when the wheel is easy to seat flush against the hub. Full-torquing happens only after the car is lowered, because a wheel on the ground can't spin when you crank down on the wrench.
Most of the order is physics. A few steps are pure safety: the parking brake goes on before you touch anything, the wheel chocks go in before the jack, the flat tire goes under the car before the spare goes on. Swap any of those and you create a window where a simple failure (the brake slipping, the jack tipping) becomes an accident instead of an inconvenience.
The steps aren't a checklist — they're a dependency chain. That's why the Build mode asks you to place them in order, and the Spot mode asks you to find the break in the chain.
§B.3 · Loosen first
03
Why loosen the lugs before jacking
Because lug nuts need friction to come loose.
A lug nut holds a wheel against a hub with roughly 80 to 100 pound-feet of torque — the tire shop's impact wrench put it there. To break it loose, your wrench has to overcome that torque. The only thing that lets your wrench apply force to the nut is the tire's grip on the ground: the wheel can't rotate, so the nut has to.
Jack the car up first and the whole wheel rotates freely on its axle. You turn the wrench, the wheel rolls along with it, and the nut sits there untouched. You can burn through all your energy and not budge a single lug.
The fix is in the order: with the tire on the pavement, break each nut loose by a half turn (enough to confirm it's moving). Then jack the car up. Then fully unscrew the nuts — the hard part is already done, and a suspended wheel is fine for unscrewing, it just can't start loose.
§B.4 · Chocks
04
Why chocks beat the parking brake alone
The parking brake holds one axle. The car has two.
On most cars, the parking brake acts on the rear wheels. On some front-wheel-drive sedans, it acts on the front wheels. Either way, only one axle. When you jack up a corner of the car, the weight shifts and the opposite axle becomes the only thing keeping the vehicle from rolling. If that axle has the parking brake on it, you're fine. If the jacked axle has the brake, the braked wheel is now dangling uselessly in the air, and the un-braked rear axle is free to roll on a slight slope.
Wheel chocks solve this. Two little rubber wedges, placed behind the wheels on the axle the parking brake isn't holding, stop the un-braked axle from rolling. Ten dollars at any auto parts store. One of the cheapest safety upgrades that exists, and the single most commonly skipped step in at-home tire changes.
Which wheels get chocked? The ones at the opposite-corner from the one you're lifting. If you're changing the front-right tire, chock behind the rear-left wheel. If you're doing the rear-left, chock behind the front-right. Opposite corner. Two chocks is even better — one on each of the two remaining wheels.
§B.5 · Flat under
05
Why slide the flat under the car
Because jacks fail. Not often, but often enough that professional mechanics do this every single time — and they're using hydraulic jacks that are better than anything in your trunk.
Factory scissor jacks fail most often on uneven pavement, when they tip because the load isn't centered. Hydraulic bottle jacks fail when the seal weakens with age. Either way, when a jack fails, the car drops the full distance to whatever's below — in a car change, that's about 8 to 12 inches.
If the flat tire is under the frame or rocker panel when that drop happens, the car lands on the tire. You lose a few seconds of re-jacking, maybe scuff the rocker. Without the flat there, the car can land on brake lines (expensive), the control arm (more expensive), the concrete (crushing it), or you (catastrophic).
The technique: right after you remove the flat in step 7, slide it horizontally under the car — near the rocker panel area, flat on the ground, rubber side down. It stays there while you mount the spare and hand-tighten the lugs. When the car is lowered in step 11, the flat is still there but the car is now supported by the spare wheel. Pull the flat out in step 12, before you drive away.
§B.6 · Star pattern
06
The star pattern, in detail
The star pattern (also called criss-cross or cross pattern) is the order you tighten lug nuts so the wheel seats evenly against the hub. The order is as important as the torque value.
For a 5-lug wheel (most cars): imagine the five nuts as positions on a clock. The sequence is 1 (top) → 3 (lower-left) → 5 (upper-right) → 2 (lower-right) → 4 (upper-left). Each time you move, you skip across the wheel to the furthest unused position. Tracing the path draws a five-pointed star — hence the name.
For a 4-lug wheel: it's a simple diagonal — tighten a pair of opposites, then the other pair of opposites.
For a 6-lug truck/SUV wheel: work in triangles — every third lug, two passes around the wheel.
Why the pattern? If you tighten the lugs in simple circular order (1→2→3→4→5), the wheel pulls toward the first-tightened side slightly more than the others. The wheel sits minutely crooked on the hub. You won't see it, but you'll feel it at 60 mph — subtle vibration, uneven brake wear, premature tire wear. At worst, the wheel works itself loose. The star pattern avoids this by alternating sides so the hub stays centered.
Practical tip: do the star pattern twice. Once hand-tight (step 10), once fully-torqued after lowering (step 11). Two star passes beats one star pass, every time.
§B.7 · Donut
07
How far you can drive on a donut
The 50/50 rule: 50 miles, 50 miles per hour maximum.
Space-saver donut spares are built differently from your regular tires. They're narrower to save trunk space, they use thinner rubber to save weight, and they're rated for emergency use only. Going faster than 50 mph causes them to overheat; going further than 50 miles wears them past their usable tread.
Donuts also affect the car's handling. Because one corner is now smaller-diameter, the differential sees the spare spinning faster than the other three wheels — fine for a short trip, but taxes the drivetrain if you drive on it for days. On all-wheel-drive cars, extended donut use can actually damage the transfer case.
If you have a full-size spare (common on trucks and older sedans), you can drive normally. But still get it rotated back into your regular tire rotation within a few weeks — an un-rotated spare ages unevenly and will have different tread depth than the other three.
Either way: repair or replace the flat within a day or two. The donut is a crutch, not a replacement.
§B.8 · Re-torque
08
Re-torque the lugs after 50 miles
Yes, after about 50 miles. This is the step every roadside tutorial skips and every tire shop insists on.
Here's what happens after you put a wheel on: the lug nuts pull the wheel against the hub with the torque you applied. As you drive, the wheel settles — microscopic surface imperfections between the wheel and the hub smooth out under the clamping force, and the space between them shrinks slightly. That means the clamping force also drops, sometimes by 10 to 20 percent of what you applied.
After 50 miles or so, this settling is mostly done. Pull over somewhere safe, grab your lug wrench, and snug each nut down in the star pattern. You don't need to crank hard — just finish seating them. Five minutes of work.
Skip this step and loose lug nuts become a real failure mode on freshly-changed tires. It's not common, but it's preventable. Tire shops retorque as a matter of course after mounting wheels because they know.
§B.9 · Surface
09
Soft, sloped, or sketchy ground
If you can move the car, move it. A short coast onto flatter, firmer ground is safer than any workaround.
When you can't move the car:
- Soft ground (dirt, grass, soft gravel, fresh asphalt on a hot day): jacks punch through soft surfaces. Put a solid wood block, a flat stone, or a piece of plywood under the jack base to distribute the load. A 6"×6"×1" scrap of lumber in your trunk costs nothing and works fine.
- Sloped ground: if you have a choice, work on the uphill side of the car first — gravity helps hold the weight against the jack. Double-up on chocks: two chocks behind the downhill wheels, not just one. Turn the front wheels toward the curb or uphill direction so the car rolls into something if it does escape.
- Highway shoulder with fast traffic: don't. Call roadside assistance, stand well behind the guardrail or well off the shoulder, and let a professional with flares and a truck handle it. This is the situation where the DIY instinct gets people hit by passing cars.
- Snow, ice, or wet rain-slick pavement: jack stability drops significantly. If you must work in the snow, clear the area down to pavement first, then put a board under the jack.
§B.10 · Tools
10
Tools worth keeping in the trunk
The factory kit — scissor jack, L-shaped lug wrench, spare tire — is the bare minimum. A few cheap additions make roadside tire changes meaningfully safer and faster:
- Cross-style lug wrench (the + or X shape). Much more leverage than the factory L-wrench. Can be the difference between a tight nut coming loose and not.
- Two wheel chocks. Rubber wedges, about $10 a pair. See the chocks question for why.
- Work gloves. Lug nuts are dirty. Brake dust, road grime, rust flakes. A pair of inexpensive work gloves keeps your hands usable for the rest of your day.
- LED flashlight with fresh batteries. Flat tires don't wait for daylight. A headlamp is even better — leaves your hands free.
- Reflective warning triangle or road flares. Visible to traffic from hundreds of feet back. Required by law for commercial vehicles; a good idea for anyone driving highways at night.
- Small piece of plywood or a flat wood block for putting under the jack on soft ground. Costs nothing; sits in the trunk for years.
- Portable tire inflator. A slow leak doesn't always need a full tire change — if you can air the tire back up, you can drive to a tire shop and let them patch it. Saves the whole procedure when you get lucky.
Watch someone actually do it
The game teaches the order. A video teaches the feel — what the jack handle looks like when it's creaking under load, how much force the lug wrench actually takes, what "wiggle the tire straight off" looks like in real life. Pair the two.
- AAA — How to change a flat tire AAA's official walkthrough is the canonical roadside tire-change video. Clear narration, top-down shots on the star-pattern step, explicit chocks + jack-point callouts. If you only watch one, watch theirs.
- ChrisFix — Step-by-step tire change ChrisFix's tutorials are famously beginner-friendly and thorough. Good camera angles on the lug-loosening technique and the star pattern. Covers common snags (stuck hubcap, rust-frozen lugs) the AAA video doesn't.
- Bridgestone — Changing a tire safely Bridgestone's tire-manufacturer perspective leans heavier on the torque-and-retorque rationale and the donut-spare speed/distance limits. Short, to-the-point, good as a refresher.
Tools that actually help.
Appendix C · gearAs an Amazon Associate, we earn from qualifying purchases. We only link to things that are genuinely useful for the skill this page is about.
§C.1 · Lift
01
Hydraulic bottle jack or scissor jack upgrade
Factory jacks are notorious for being the cheapest possible version of the tool. A proper hydraulic bottle jack (2–3 ton rating) or a beefy scissor jack with a smoother mechanism makes the whole procedure faster and meaningfully safer. Look for one that comes with a carrying case — a loose jack rolling around your trunk is its own hazard.
§C.2 · Torque
02
Torque wrench (½" drive)
The tool every home mechanic should own, almost nobody does. Click-style wrenches are accurate enough for lug nuts and cost under $50. Check your owner's manual for your vehicle's lug-nut torque spec (usually 80–100 lb-ft for passenger cars, 100–150 for trucks). Using one eliminates the "how tight is tight" guesswork and makes the retorque step precise.
§C.3 · Chocks
03
Wheel chocks (pair)
Cheapest safety upgrade for a tire change, $10–20 for a pair. See the chocks question for why the parking brake alone isn't enough. Rubber wedges with gripped undersides work on asphalt, concrete, and packed gravel. A pair lives in your trunk forever — they don't wear out.
§C.4 · Inflate
04
Portable tire inflator
The most-used tool in this list, because most tire problems are slow leaks, not blowouts. A small 12V inflator that plugs into your cigarette lighter re-airs a deflating tire in three minutes, which is often enough to get you to a repair shop without doing the whole change procedure. Worth the $30–50 for the number of times it'll save you.